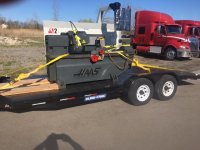
I've been an office rat for years, but I did get my start in the shop. Truthfully, many days, I miss working in the shop. I enjoy what I do, but I miss the simplicity (best way to describe it) of working in the shop.
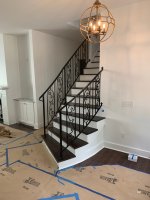
Anyways, I had to dust off some of the old fab skills to fabricate some custom railings for the stair in my new house. The flat rail and the rake rail portion were relatively simple. The curved portions were a total PITA. No drawings to go by and the guy who framed the stair was obviously high. The stair changed pitch from 9.375 on 12 to 12 on 10.625 on the inside, and the outside radius was even different; maybe 6.875 on 12, IIRC. The change in slope was a function of the wedge-shaped treads, so it was unavoidable.....but challenging nonetheless.
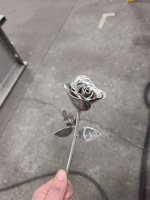
Long story short, this was mine and my father's attempt at making a purse out of a sow's ear.
Glad I don't build railings like this for a living.
View attachment 7607651
View attachment 7607653
View attachment 7607655
View attachment 7607656
View attachment 7607657
View attachment 7607658
View attachment 7607661
View attachment 7607662


 ....
.... ......aaaaaaand now apparently i have a Mk3 coming this spring...