• The Shot You’ll Never Forget Giveaway - Enter To Win A Barrel From Rifle Barrel Blanks!

    Tell us about the best or most memorable shot you’ve ever taken. Contest ends June 13th and remember: subscribe for a better chance of winning!

    Join contest Subscribe

A few DIY items I made this week.

parkze17

Private
Full Member
Minuteman
Mar 19, 2011
89
0
43
Parker, PA United States
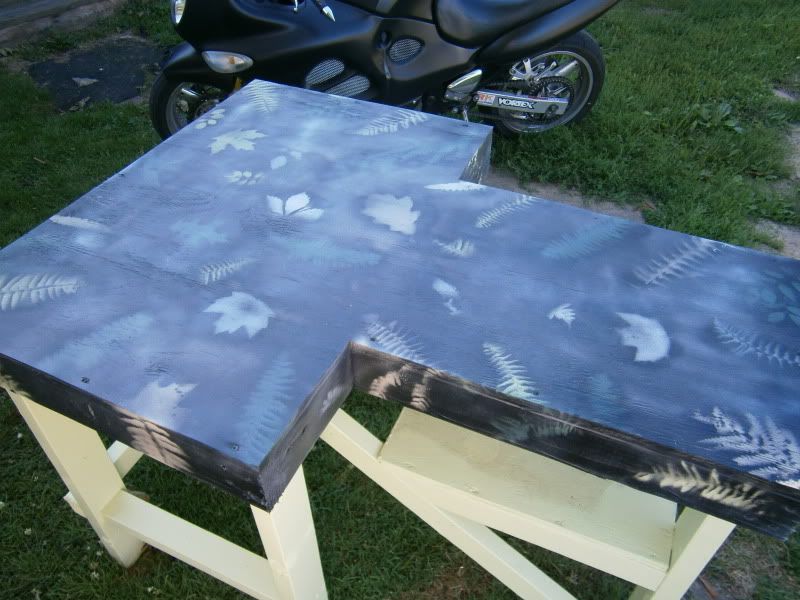
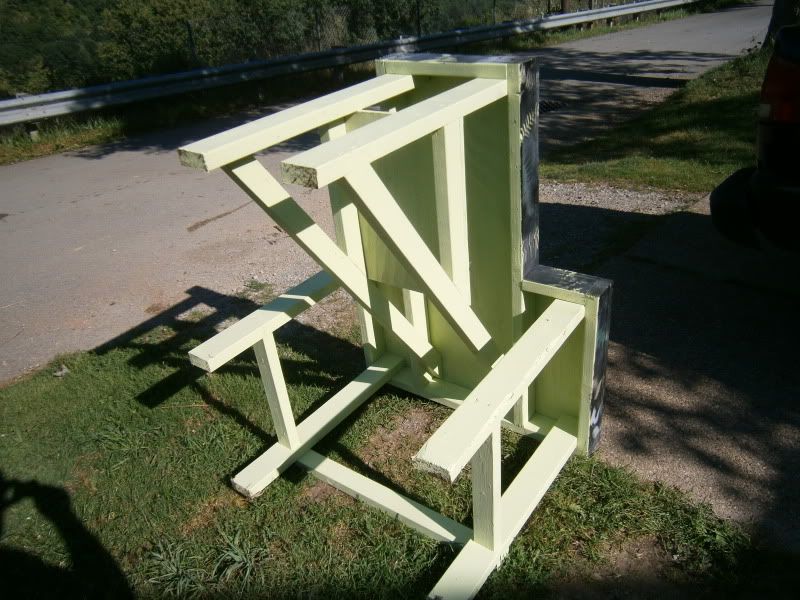
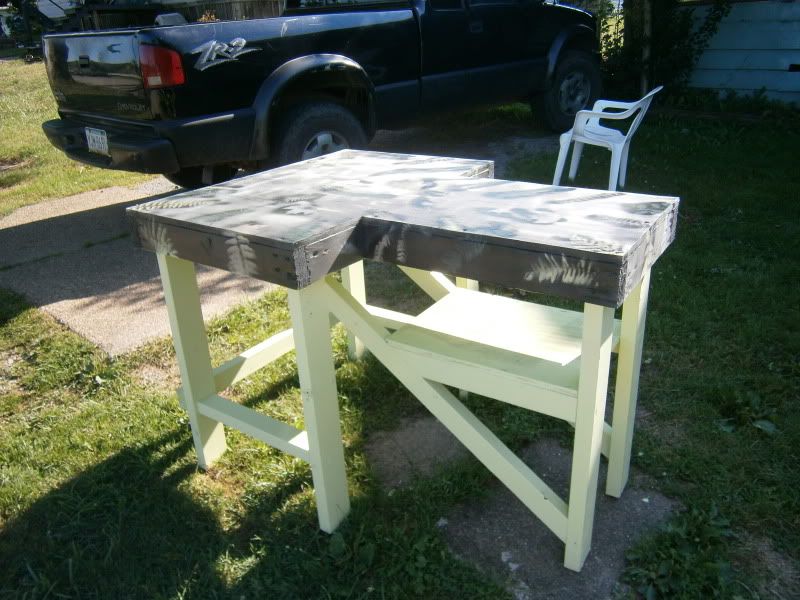
The first is a shooting table that I built using lumber and screws from Lows. It cost me $42 and I still have 1/2 a sheet of plywood and a couple 8 foot 2X4's which will be used to make a stool or bench to sit on when using the table. It is 4 feet long and 3 feet wide. It sits right around 32 inches high and has a shelf for ammo, muffs, ect... It is a perfect size for alot of rifles and it even fits my State Arms Rebel .50BMG which is very large.

Picture227.jpg


Picture225.jpg


Picture219.jpg


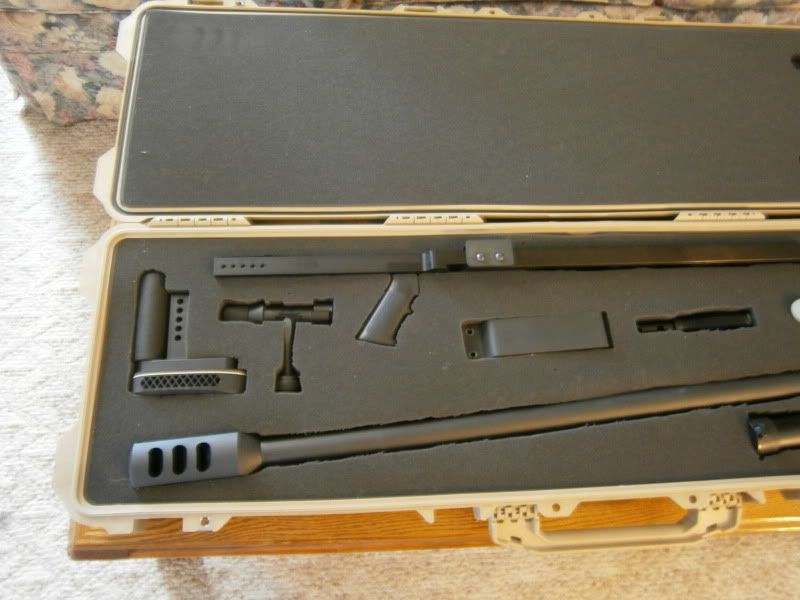
The second is a hot wire cutter to cut the foam in my pelican. I just used random cut offs, light dimmer, and some picture hanging wire. It connects to a battery charger on 12v 6 amp and then you can control the temp with the dimmer but it works best on high anyway.

Picture228.jpg
 
Re: A few DIY items I made this week.


I like the foam cutter.

Did you find plans online?

I would like to see the bottom, or wiring detail. I need to build one of those. If possible could you post up a pic or link?

Thank you.
 
Re: A few DIY items I made this week.

I used a combination of different designs i guess. I just ran one wire to the bottom of the wire where its anchored by an eye bolt. The other wire runs to the dimmer then out of the dimmer to the top of the arm on that eyebolt. My dimmer had to be grounded so I just extended the wire and I grounded it to a metal table that I hed it sitting on when I used it. On the ends of the wires where I connect the battery charger I just used the same round wire connectors that I used to connect to the eyebolts. I will take a few pics today of it as well as the job it did on my foam. In hind sight I should have used something like a 2X3 or 2X4 for the arm because the 1X4 actually bends a bit causing my wire to jump off track once in a while. After I made two cuts I figured out I needed to move slower. I may take a mulligan at it.
 
Re: A few DIY items I made this week.

Picture233.jpg

Picture234.jpg

You can see where I murdered my first cut around the barrel and action. I uses cardboard cutouts to trace and my wire would also burn into it a bit and then slingshot out and cause ridges. The next time I am simply tracing it on the opposite side of the foam and cutting it freehand on the trace, and I am going to go nice and slow. I also think I will rebuild the arm on my cutter with stronger boards.

Picture244.jpg


This pretty much shows all the wires. the green to blue looped one is the ground for the switch and the otheres are pretty much self explained.

Picture246-1.jpg


This is what I used to take slack out of the wire.
 
Re: A few DIY items I made this week.

Parkze, for what it's worth, when I made my Hot-Wire foam cutter I used a hockey-stick shaft for my top arm. Due to the fact that it was spring-loaded at the back, it worked great. Not impossible to flex a hockey stick, but it is quite sturdy.

And for the wires, I had started with using piano-wire and guitar-strings due to their high carbon content. They worked "ok" but drew quite a load and burned out transformers.

I've since gone to 'ni-chrome' wires and it is MUCH better. You get these from the grids out of old toasters. You are definitely on a roll there though, and keep it up.

My $0.02 and you may get change back.

Sean.
 
Re: A few DIY items I made this week.

Clearly you've done wood working before. If I was asked to build something like that with metal, no problem. If I was asked to build it with wood, it would probably fall apart if you looked at it wrong.

Nice work!