speedglass makes an air-fed hood. May want to give one of them a try.Anyone have to give up welding for health reasons? I'm having issues with my breathing and recently quit a mechanic position that I enjoyed because about a third of the time I welded. I'm debating on selling my welder, plasma cutter and all the related tools but I'm having a hard time with the thought of parting with them.
Join the Hide community
Get access to live stream, lessons, the post exchange, and chat with other snipers.
Register
Download Gravity Ballistics
Get help to accurately calculate and scope your sniper rifle using real shooting data.

Install the app
How to install the app on iOS
Follow along with the video below to see how to install our site as a web app on your home screen.
Note: This feature may not be available in some browsers.
You are using an out of date browser. It may not display this or other websites correctly.
You should upgrade or use an alternative browser.
You should upgrade or use an alternative browser.
Maggie’s The Welding and Metalworking Thread
- Thread starter bogeybrown
- Start date
speedglass makes an air-fed hood. May want to give one of them a try.
I really considered a PAPR but I think I'm giving it up before my health gets any worse. I changed jobs already to get away from it, pretty sure I am selling all my welding equipment too.
I certainly understand that. Had to change positions also due to eyesight getting badI really considered a PAPR but I think I'm giving it up before my health gets any worse. I changed jobs already to get away from it, pretty sure I am selling all my welding equipment too.
First knife
1095 High carbon
All done with hand tools
It's a holder for a 40mm sq cutter. 72 of them in an average shredder. When customers are dumb and run large pieces of metal into a shredder setup for document destruction they either get torn up, bent, ripped off.What is it?
150 to 200 hp motor turning a 5' to 6' long rotor about 16" in diameter at 120 rpm.
Cutter engages a bed knife.
They have to be cut out and welded back in within a 1/16 for proper clearance. Root pass 7014 then 3 with 7018 and a cover pass.
All in a steel box the size of a vw
It's a holder for a 40mm sq cutter. 72 of them in an average shredder. When customers are dumb and run large pieces of metal into a shredder setup for document destruction they either get torn up, bent, ripped off.
150 to 200 hp motor turning a 5' to 6' long rotor about 16" in diameter at 120 rpm.
Cutter engages a bed knife.
They have to be cut out and welded back in within a 1/16 for proper clearance. Root pass 7014 then 3 with 7018 and a cover pass.
All in a steel box the size of a vw
The one I used to work on was a Retech.
We used it to reclaim heavy PVC extrusions. Louder than a train wreck.
It's a holder for a 40mm sq cutter. 72 of them in an average shredder. When customers are dumb and run large pieces of metal into a shredder setup for document destruction they either get torn up, bent, ripped off.
150 to 200 hp motor turning a 5' to 6' long rotor about 16" in diameter at 120 rpm.
Cutter engages a bed knife.
They have to be cut out and welded back in within a 1/16 for proper clearance. Root pass 7014 then 3 with 7018 and a cover pass.
All in a steel box the size of a vw
Ahhhh, gotcha. Haven’t looked at one of those up close before.
The one I used to work on was a Retech.
We used it to reclaim heavy PVC extrusions. Louder than a train wreck.
Yep, retch vecoplan..... we also do a ton of other OEM machines.
I enjoy metal. work. Decided to but a Mig/Tig machine and a plasma cutter about 3 or 4 years ago. I have always done enough dirty farm welding with stick to get by when I had to but I wanted to be able to make stuff easily. I am completely self taught, just started welding and the more you do the better you get. Here are a few recent things from the last 10 months. One of the best things I have ever taught myself to do. There is always something to be done with a welder and plasma cutter around the shop and farm. I really get into fabbing things and have all kinds of stuff around here I have made.
Gate for barn fence here at the house

Plasma cutting table

Bench for the wife

Fabrication table on wheels for my chop saw and small parts saw

Decorative porch rails for my daughter with twisted pickets
.jpg")
New post for the mail box

Gate for barn fence here at the house
Plasma cutting table
Bench for the wife
Fabrication table on wheels for my chop saw and small parts saw
Decorative porch rails for my daughter with twisted pickets
New post for the mail box
I do. I have an ornamental bender and roller that will bend up to 1" flat for decorative and twist up to 1" flat and 1/2" square. I built a press bender for heavier stuff like the arm rails on the bench out of a cheap bottle jack press. Works well. The ornamental bender will do all manner of scrolls, circular bends and twists.
Bench after paint and stain

Bench after paint and stain
Last edited:
Made these today. Daughter is getting married and wanted a rack for hanging table assignments for the reception. I made her a rack with twisted 1" flats to look like ribbons hanging off of it. The other piece is for a hornets nest I shot down but the limbs broke so I made a metal "tree" for it.

.jpg")

Other than a bit more dust/weathering, I think the 25 PDR is finished...


I was going through some pictures on my computer and don't think I posted this project. I built the hand rail and stairs on this slurry trailer so it would be safer for the truck drivers. I made the top rail collapsible so it would be under 13' when folded down. Fun project but took longer than I would have liked because the shop bandsaw sucked so I cut everything with a portaband and drilled all the holes by hand for the hinge points.


How does it secure in the up position....pins? I assume the trailer is aluminum....how did you attach the uprights to the trailer? A lot of skill getting all that square without jigs. Good looking work.
How does it secure in the up position....pins? I assume the trailer is aluminum....how did you attach the uprights to the trailer? A lot of skill getting all that square without jigs. Good looking work.
Thanks, I really enjoyed projects like this. It's a stainless trailer so I welded the uprights to the trailer. The top railing has a strong gas shock that assists in raising it and it has a stop to stop it at 90⁰. I originally had two shocks on it which made it raise very easily but it was everything I had to pull it down. I wanted to run a pair of air cylinders but they didn't want to spend the money.
I used squares from Fireball tools to square up everything. If you do any fabricating, they aren't cheap but worth every penny.
I used squares from Fireball tools to square up everything. If you do any fabricating, they aren't cheap but worth every penny.
You use cast or aluminum? Whats your most use square from them? You are getting ready to cost me some money
")
You use cast or aluminum? Whats your most use square from them? You are getting ready to cost me some money
I used the 8" cast iron. The 90⁰ triangle was my most used but the second link is handy for when the other wouldn't fit inside of the part. They are like an extra set of hands when trying to hold something on a mark to tack it. I tried various magnets and didn't really like them.
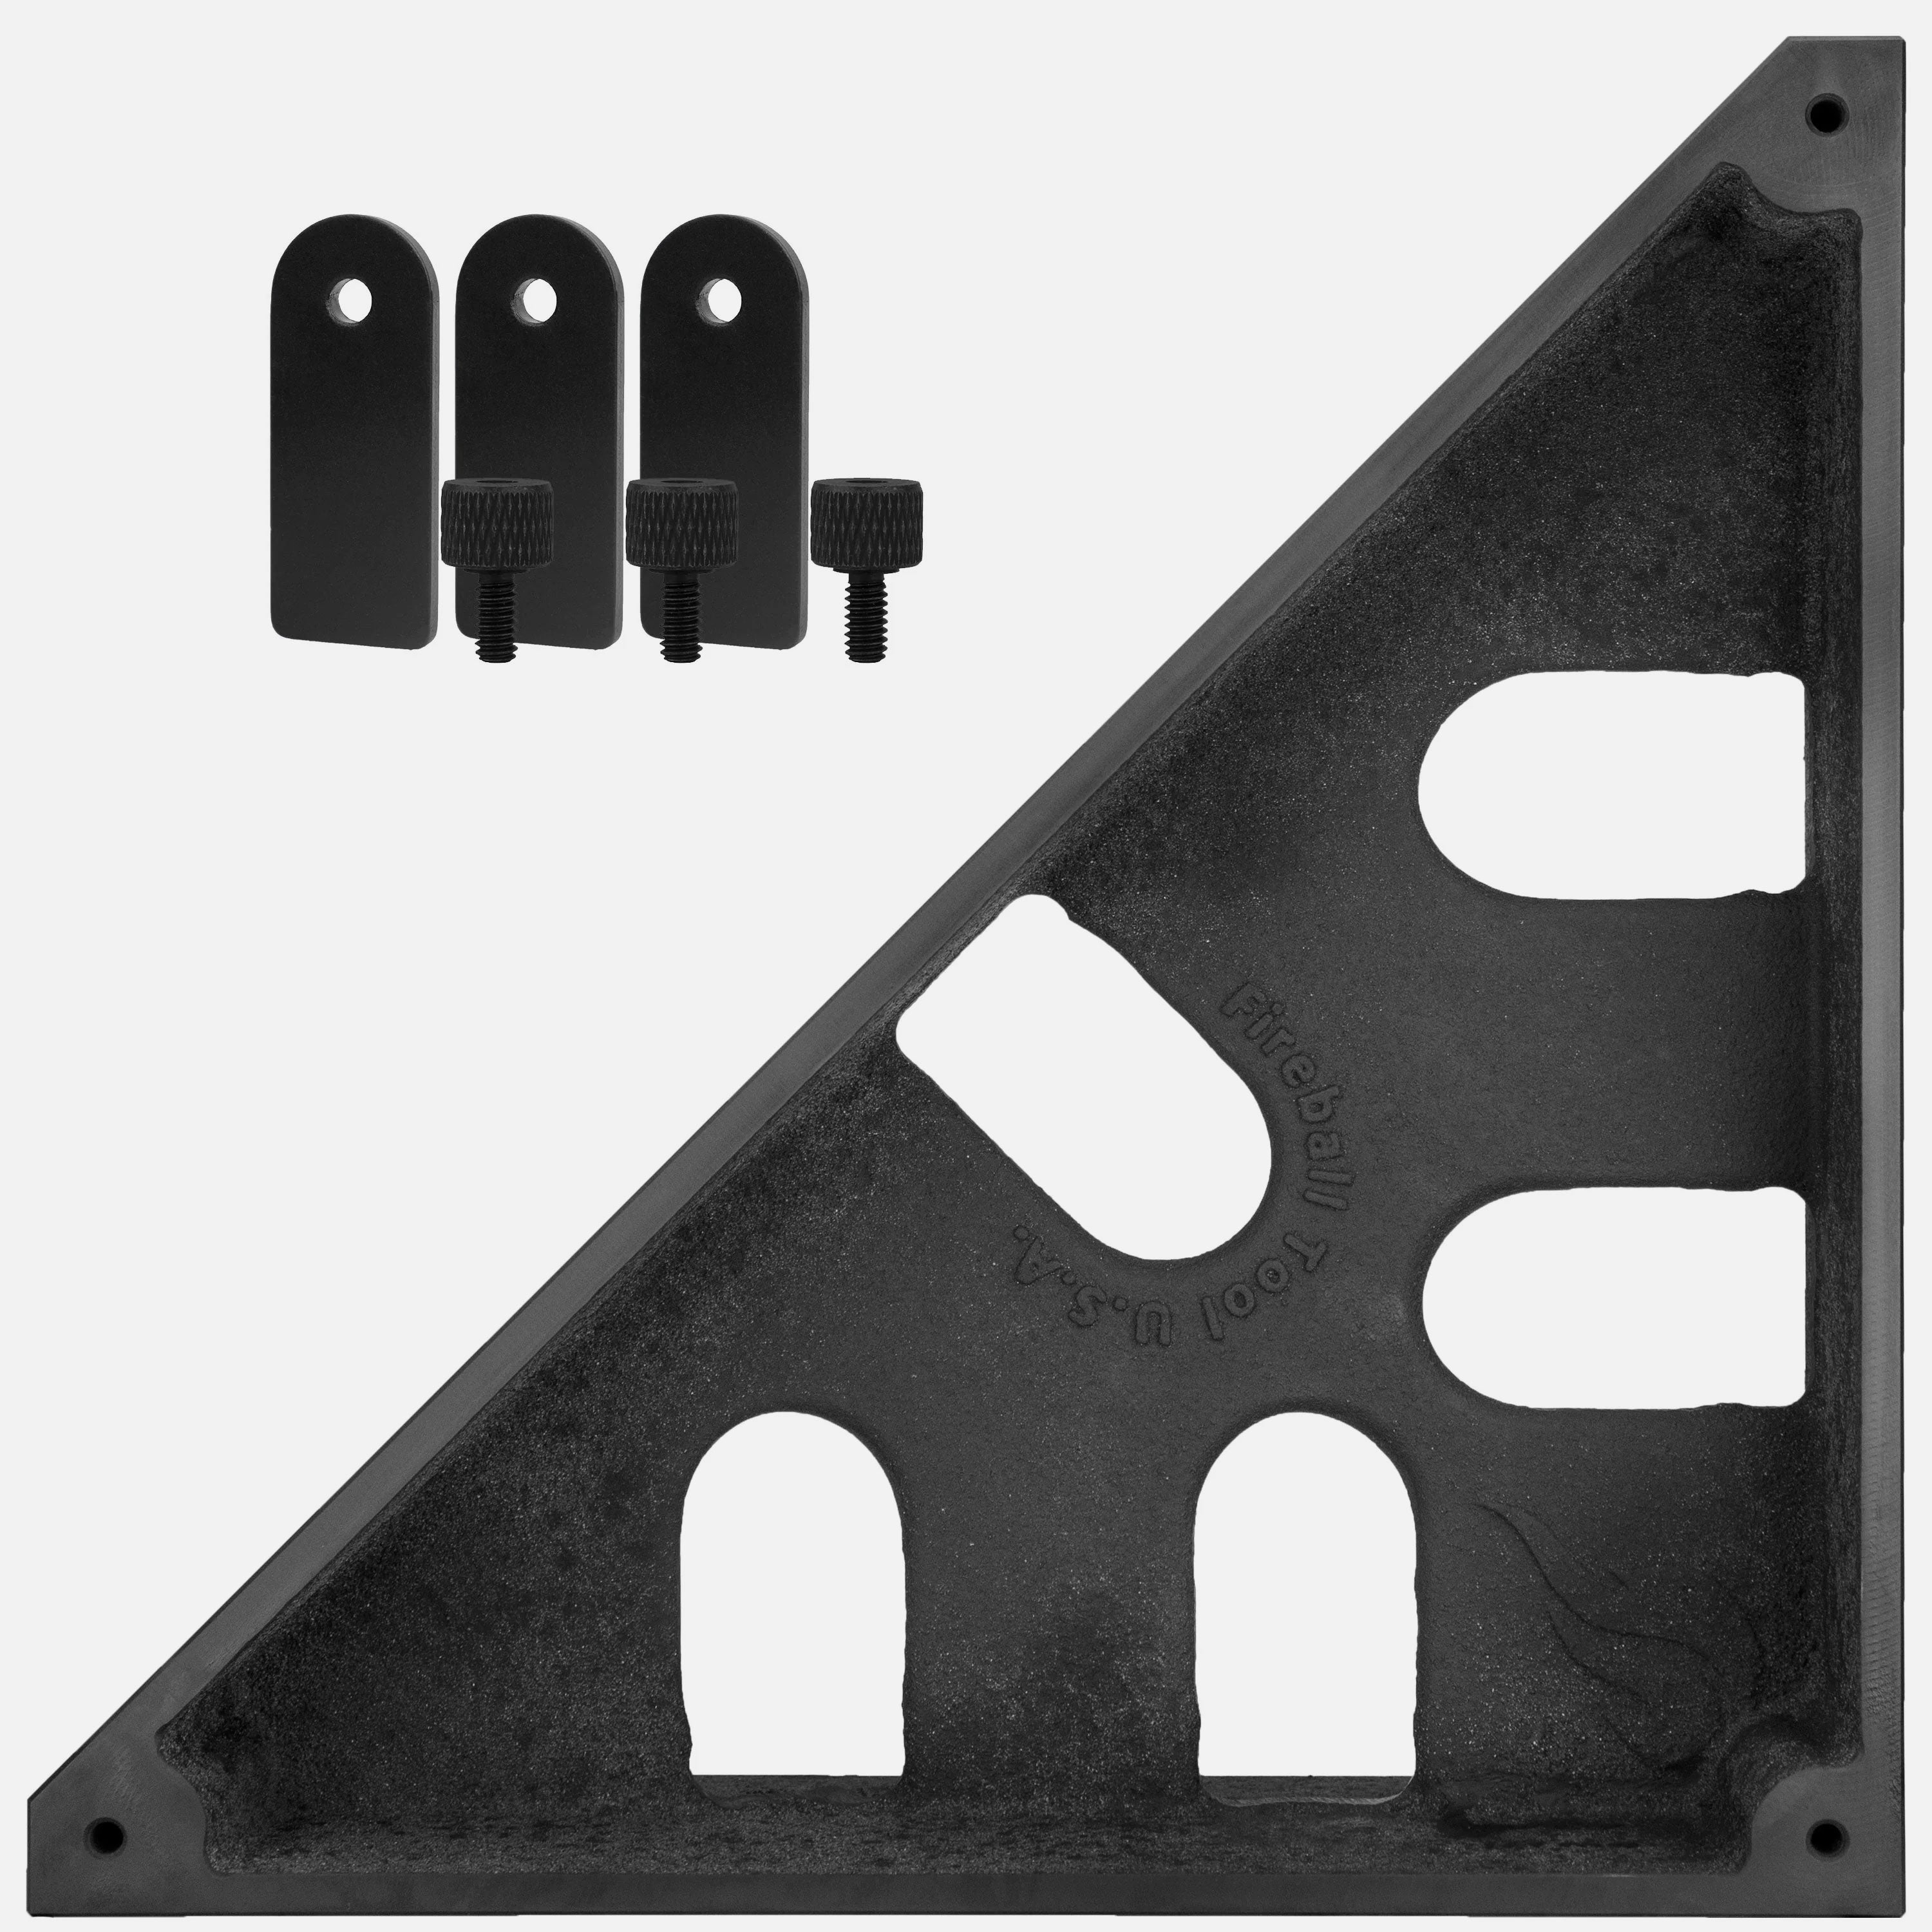
Monster Square
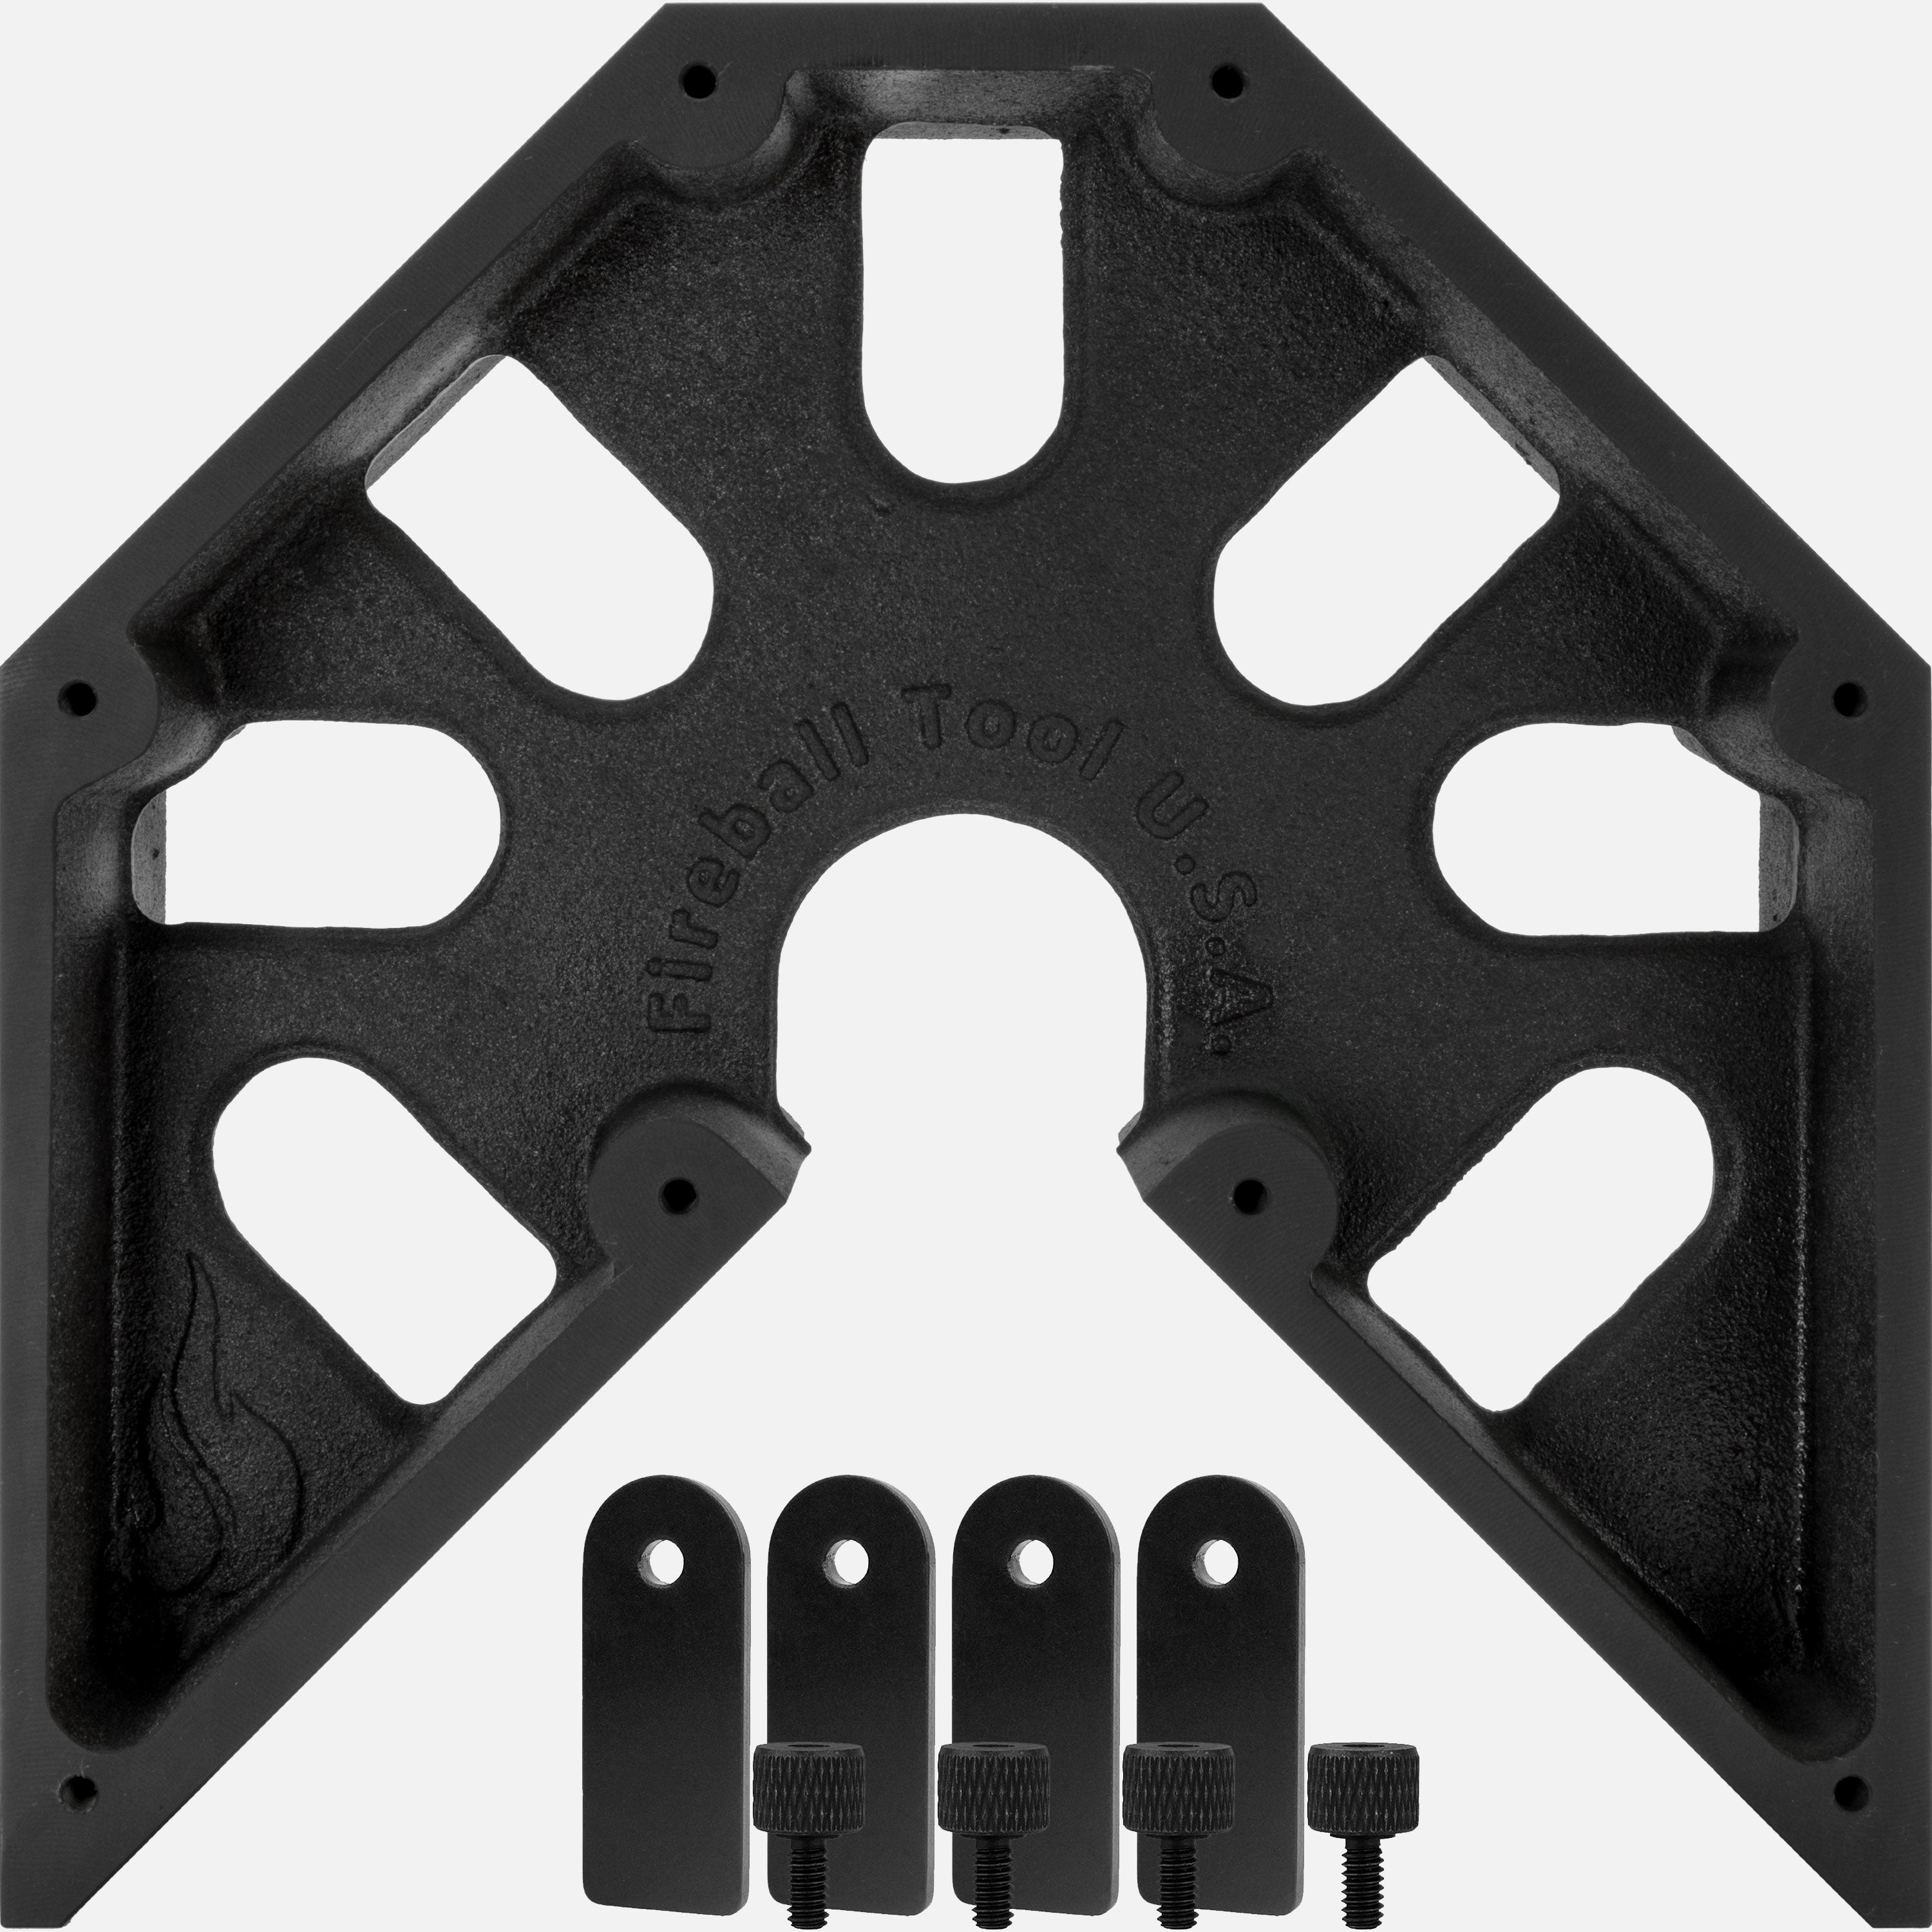
Mega Square
Material 4" 6" 8" 12" Aluminum (AL) $55 $70 $110 $195 Cast Iron (FE) $120 $215 Dragon Scale (FE) $60 $75 $140 $250
10 4 Thanks. You are right expensive but will make my projects a lot easier.
Last edited:
I can't run a bead around a round tube to save my life, but I still love building turbo manifolds. I'm much more fitter than welder.. The last one was a recent project for the wife that sat in the foyer for two days before she noticed.


I can't run a bead around a round tube to save my life, but I still love building turbo manifolds. I'm much more fitter than welder.. The last one was a recent project for the wife that sat in the foyer for two days before she noticed.View attachment 7246602View attachment 7246605View attachment 7246609
View attachment 7246611
Some of the welders for the exhaust systems are in a whole different league than most. Your work looks good, I haven't done much tig so I know I can't do that well. I was planning on buying a tig until I had breathing problems. I really wanted to try to get to where I could fab and weld cages and different suspension parts.
Everyone needs a tig. I use mine for everything. I've built tube frames, control arms, a-arms, 'moly cages, turbo manifolds/exhaust. I love working with stainless, it's so clean..
Quick experiment for a bag rider for my AR rifle stock for use when testing hand loads.


We'll see, there's a slight amount of flex, but with a light cheek weld it should be stable enough.
We'll see, there's a slight amount of flex, but with a light cheek weld it should be stable enough.
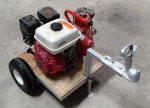
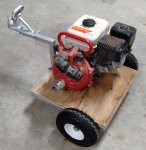
Thought I'd help the old man out with building this tiny trailer to get his water pump around the farm and save him from lifting it on and off the trailer. Haven't welded in years but it's like riding a bike.
Attachments

I used chrome moly DOM tube, tab is 3/16" and angled 5*, installed a steel sleeve between the steel butt plate and the tab that slips into the sling mount slot. Rider removes with one bolt after loosening and rotating the adjustable butt pad.Nothing like a flat bag rider. My butt plate is fixed straight to the buffer tube, but it has a sling mount in the bottom I'm planning on countersinking and mounting a piece of round alu to.
Here's the aluminum I made for the KRG/Vudoo.

As I've said before, the vast majority of the stuff we do is pretty boring....beams, columns, frames, etc.
We've had a couple cool projects come through the shop recently. This happens to be a hangar at a military base in Maryland. Most of the framing is pretty boring, but here are some photos of the trusses.
The "smaller" trusses are 220' long and 10'-6" deep midspan with 9-3/4" of camber. The larger trusses are 220' long and 17'-0" deep at midspan with only 2-3/4" of camber.


Next up, I have a pedestrian bridge headed to the University of North Carolina Medical Center.
It is really cool because it curves. I will share photos once it is mocked-up in our shop.
We've had a couple cool projects come through the shop recently. This happens to be a hangar at a military base in Maryland. Most of the framing is pretty boring, but here are some photos of the trusses.
The "smaller" trusses are 220' long and 10'-6" deep midspan with 9-3/4" of camber. The larger trusses are 220' long and 17'-0" deep at midspan with only 2-3/4" of camber.
Next up, I have a pedestrian bridge headed to the University of North Carolina Medical Center.
It is really cool because it curves. I will share photos once it is mocked-up in our shop.
I used chrome moly DOM tube, tab is 3/16" and angled 5*, installed a steel sleeve between the steel butt plate and the tab that slips into the sling mount slot. Rider removes with one bolt after loosening and rotating the adjustable butt pad.
Here's the aluminum I made for the KRG/Vudoo.
I didn't even notice the Bravo had holes for that... Might just have to send the Howa back to my dad with a 'rider on it. We both agree that's the only way a rifle will track right.
I have no skills, but I fabricobbled this together and am pretty happy with it.


That's how the sickness starts, nice work. Welding/fabricating is just too much fun.I have no skills, but I fabricobbled this together and am pretty happy with it.
View attachment 7256917
View attachment 7256918
How about some 1/6th scale spoked wheels?
cheers, Sirhr


cheers, Sirhr
Wow, I have a hard enough time with the full-size, and there you go truin' and balancin' a 1/6th?
How about some 1/6th scale spoked wheels?
cheers, Sirhr
View attachment 7258034View attachment 7258035View attachment 7258036
It doesn't count unless you use cloth rim tape. ??
Nice job on the wheels.
What are you using as a stand to true them?
Repost from the Random Stuff thread...
BIG SMAW electrode. 3/4 size and 39" @ 1000 amps...

Electrode is a Cor-Met F25, information and video courtesy of @LeftyJason's find. Used as actual filler to rebuild high tension components.
BIG SMAW electrode. 3/4 size and 39" @ 1000 amps...
Electrode is a Cor-Met F25, information and video courtesy of @LeftyJason's find. Used as actual filler to rebuild high tension components.
Got a bumper put together for my ‘57.

That was cool. What kind of fuckery is going on with the last dude's helmet?
I'm assuming you are referring to the pipeliner hood. They are used mainly outdoors with pipe welders so you don't fight the glare of the sun in your hood.
Thank you!I'm assuming you are referring to the pipeliner hood. They are used mainly outdoors with pipe welders so you don't fight the glare of the sun in your hood.
That was cool. What kind of fuckery is going on with the last dude's helmet?
Those are 'pancake' hoods. Just like what @Bradu said above. Pipeliners like them because they have side flaps built in. They are pretty much like SWAT riot shields, just miniaturized to protect just the face and eyes.
I built a small version of a pancake hood a couple of months ago using the lenses from an old helmet. It was for one of my coworkers who wanted to make video tutorials on how to weld and wanted to film a helmet view of a weld in progress. The mini-pancake housed a GoPro camera and can be mounted on the top of his regular helmet, aimed in the same direction as what he would be seeing through his main lens.
I've been a hobbyist for decades. Got into aluminum while I kids were in high school. Dad had to do the building and repair of things for the marching band and other areas of the school But lately, I've been building Rocket Stoves of my own design, for a few friends. It would seem this may turn into a small cottage industry. People like the design and it's not too heavy, but it throws a flame like you wouldn't believe. I've got to make another one soon, so I'll get a few pictures and post them.
Scratch built 1 micron lathe
One of the guys I learned machining from was an optical engineer and he had an air bearing lathe.
When he would start the tour of his shop for folks, he would spin the chuck by hand... and when you finished the tour... it would be spinning just like it was when he left it.
Those air bearing machines are incredible! Just take small cuts!
Cheers,
Sirhr
As promised in an earlier post. Here are some photos of a pedestrian bridge we are building for UNC Hospitals in Chapel Hill, NC. If you are a UNC fan, or know the area well, this bridge will cross Manning Drive and West Drive. It connects an existing parking garage to the oncology clinic. This bridge we are building replaces a bridge that (I think) did more or less the same thing except it wasn't curved. The original bridge has been demolished and this one takes its place. This is one of 5 total sections of the bridge. The other sections are straight....so not quite so interesting. This bridge is complicated in that it both curves and changes in elevation. Sounds simple, but it really isn’t.
As you can see we built this thing on shoring posts to replicate its final position (the change in elevation, etc.). Essentially, this is just like its final resting place other than it will be 20-ish feet from the ground. For something like this it always pays to shop-assemble it prior to sending it to the site. I'm sure you can only image the problems something like this would create if it got to the site and didn't fit....we'd have a pissed off CM and ironworkers. Always better to bite the bullet and do it right the first time.


As you can see we built this thing on shoring posts to replicate its final position (the change in elevation, etc.). Essentially, this is just like its final resting place other than it will be 20-ish feet from the ground. For something like this it always pays to shop-assemble it prior to sending it to the site. I'm sure you can only image the problems something like this would create if it got to the site and didn't fit....we'd have a pissed off CM and ironworkers. Always better to bite the bullet and do it right the first time.
Similar threads
- Replies
- 0
- Views
- 566
- Replies
- 16
- Views
- 2K
- Replies
- 13
- Views
- 2K
