Re: my home shop .284 win build (pic heavy)
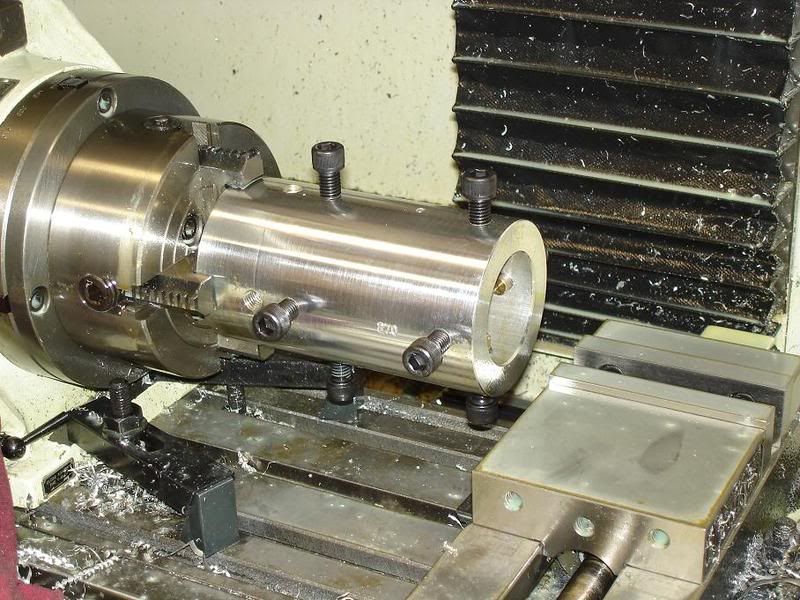
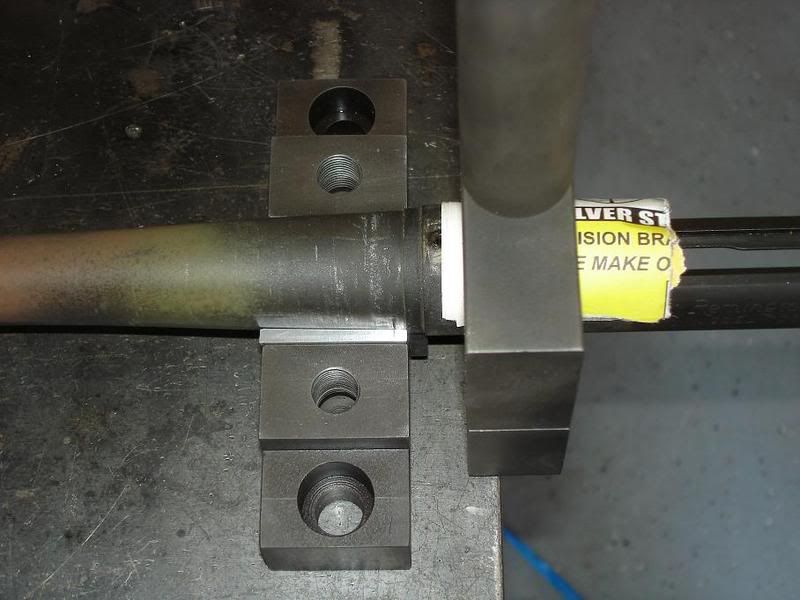
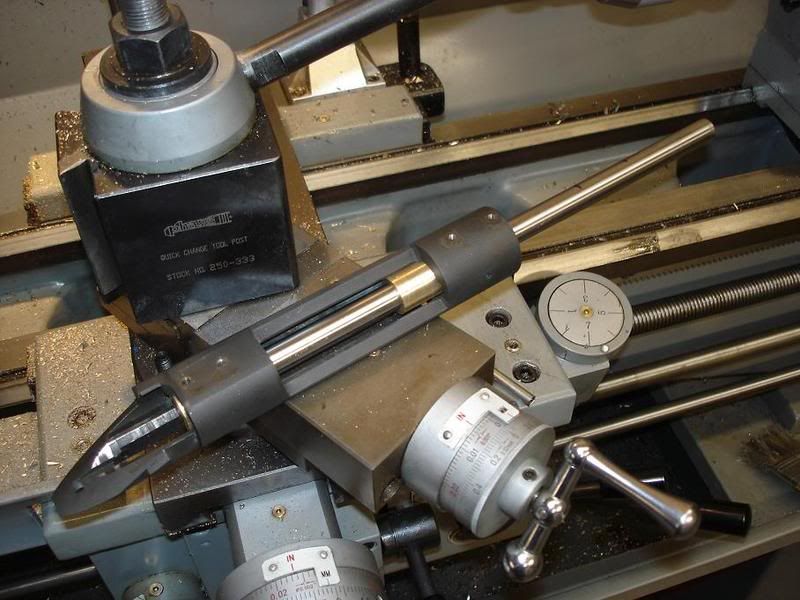
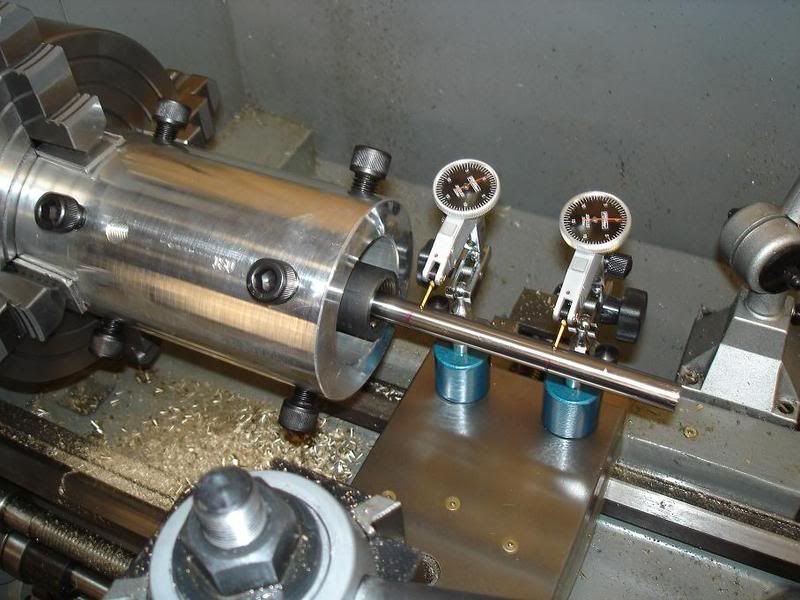
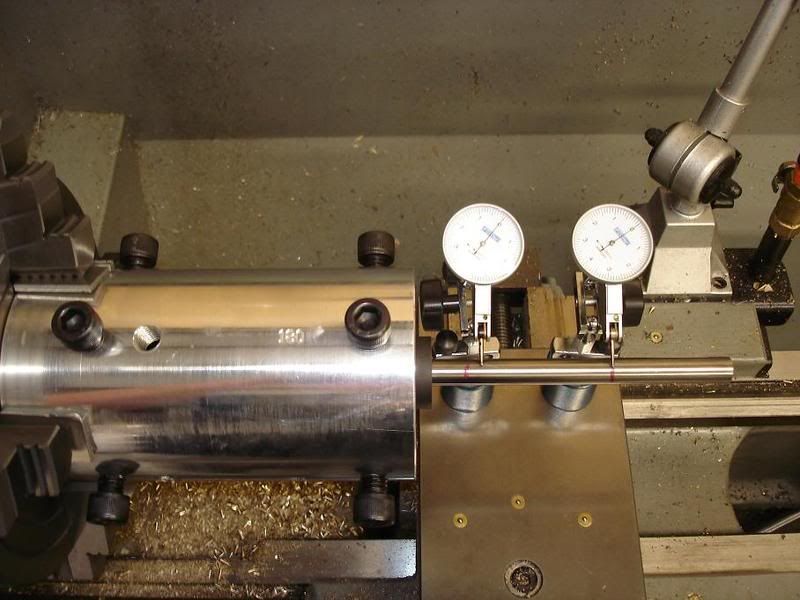
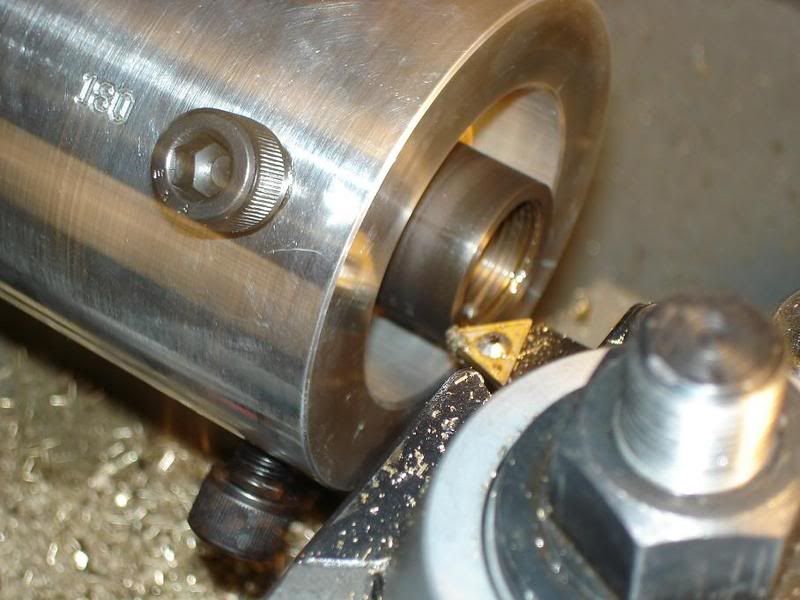
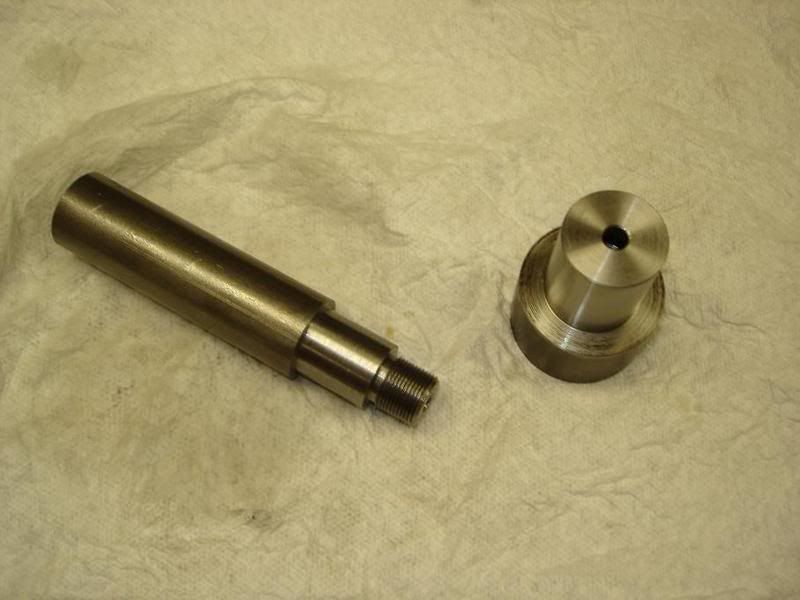
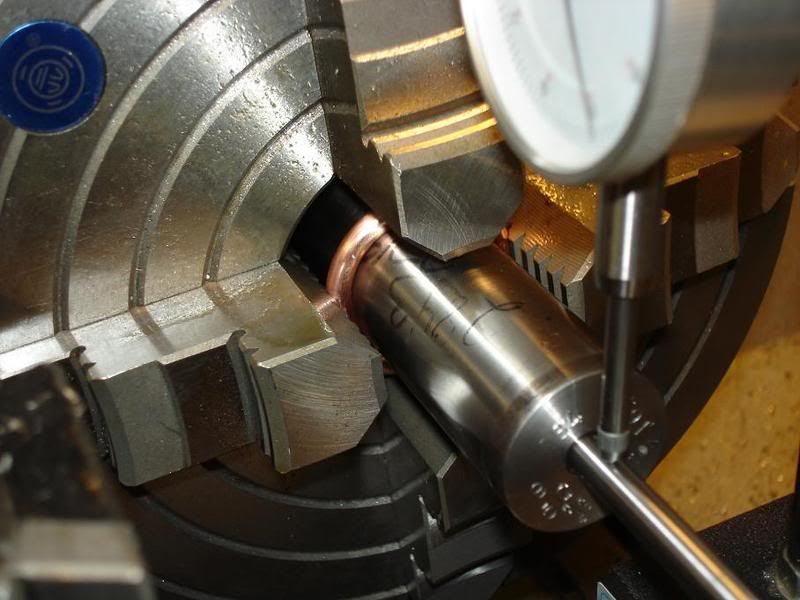
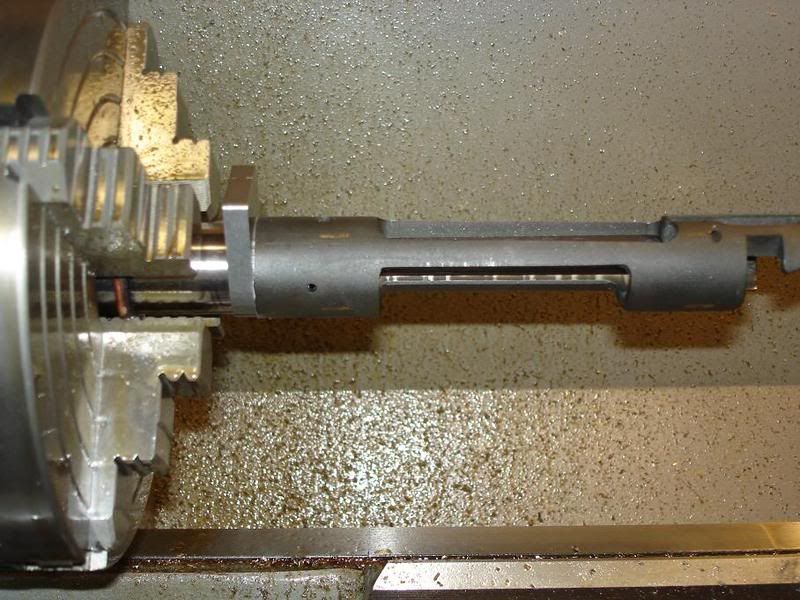
today i headed down to the shop to cut the chamber. i was all gung-ho and started roughing out the barrel shank thinking i had a lot of material to remove. oops, i messed up and cut it down to about 1.04" before i even measured it. i needed 1.073". this didn't make me that mad because all last night i was thinking i should have cut 1" off of the chamber end before i inserted the range rod just in case there were any inconsistencies from the bore being lapped. i parted off the shank and refaced it. i then moved the barrel forward and went through the whole indicating process again. this time was much faster. it probably only took me 30-45 minutes to get both test indicators way under .0001".
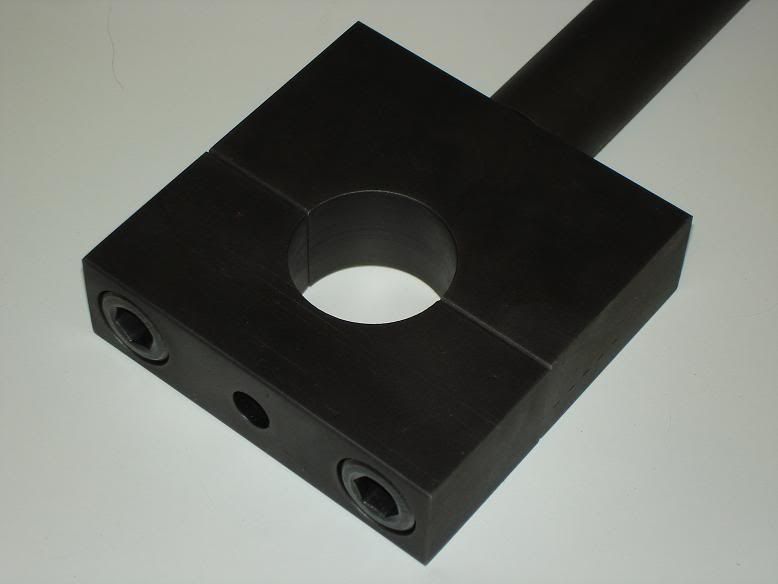
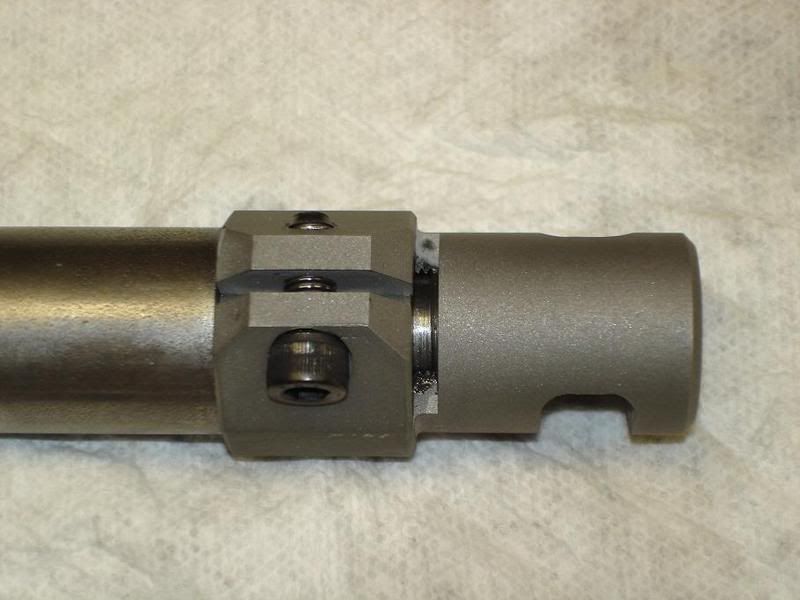
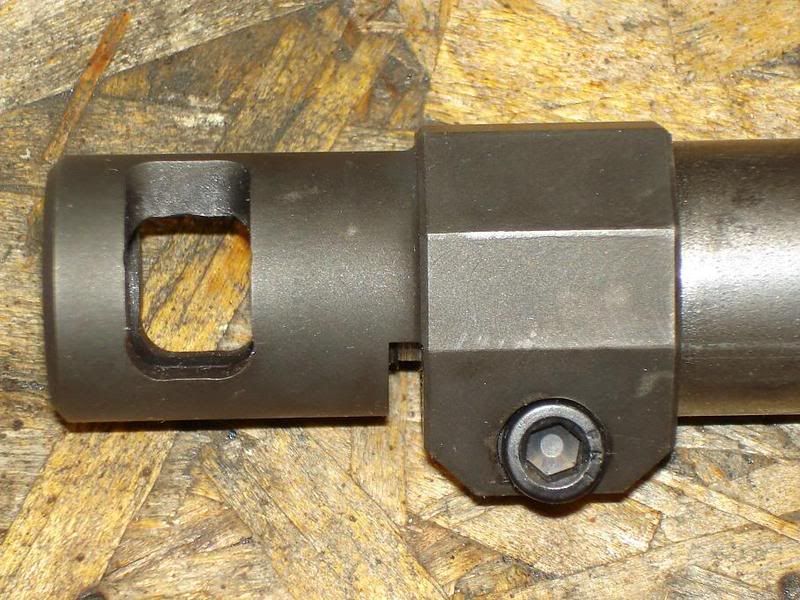
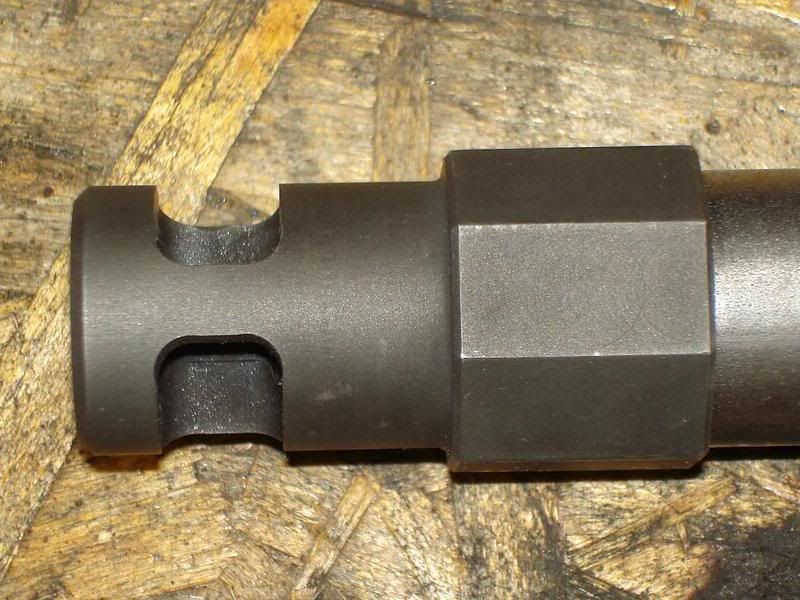
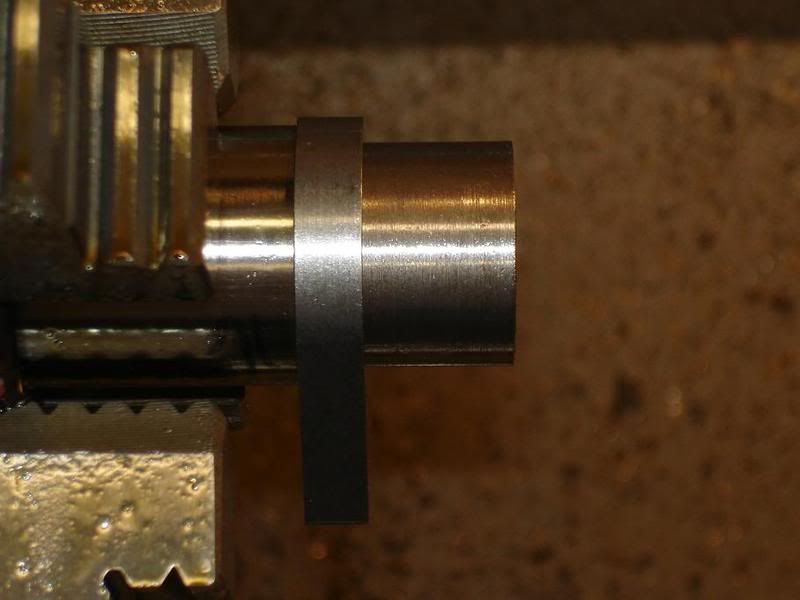
i took all my measurements off of the receiver and turned the shank to length and diameter, paying attention this time. the recoil lug had a nice snug fit over the shank.
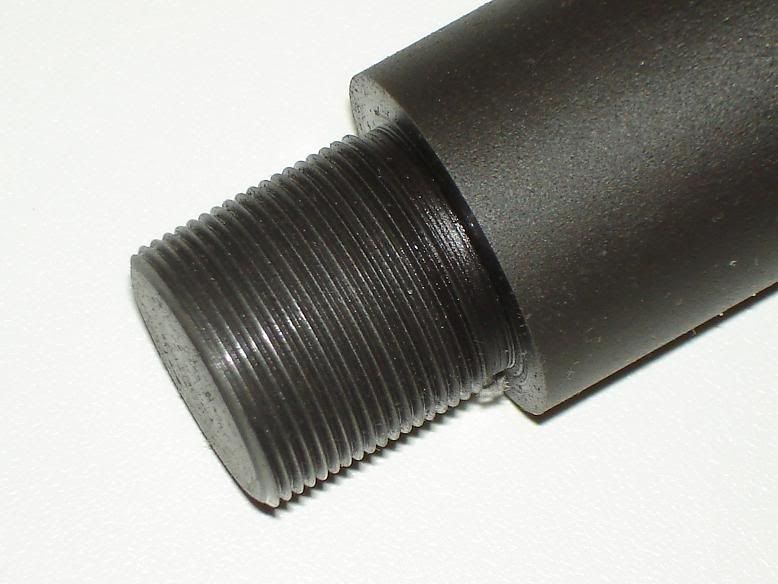
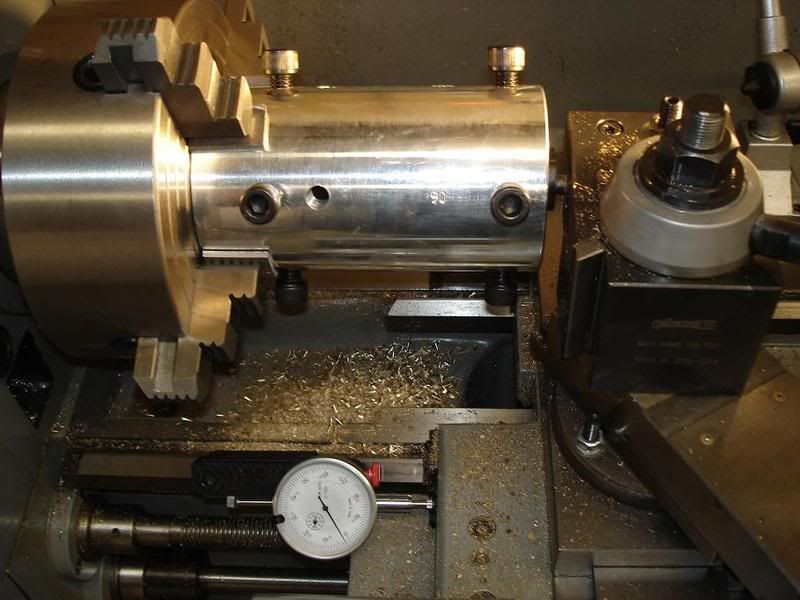
next i cut the threads.
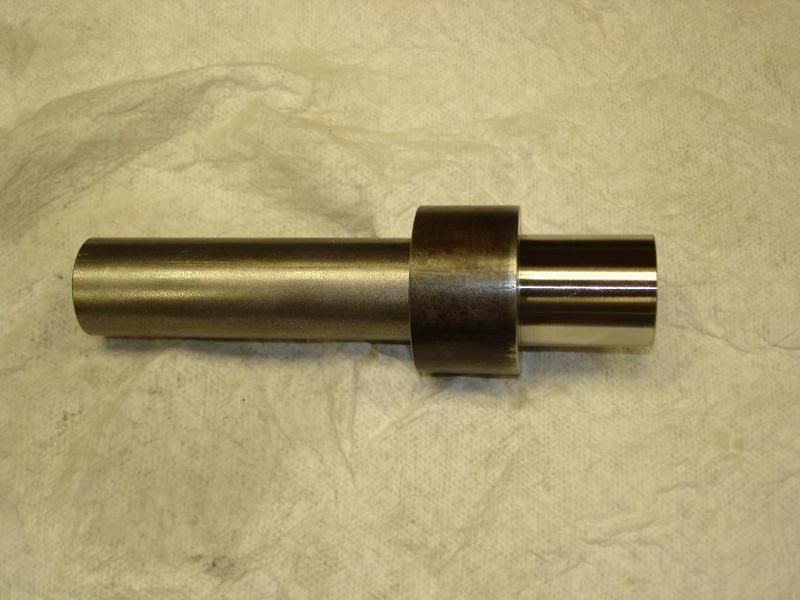
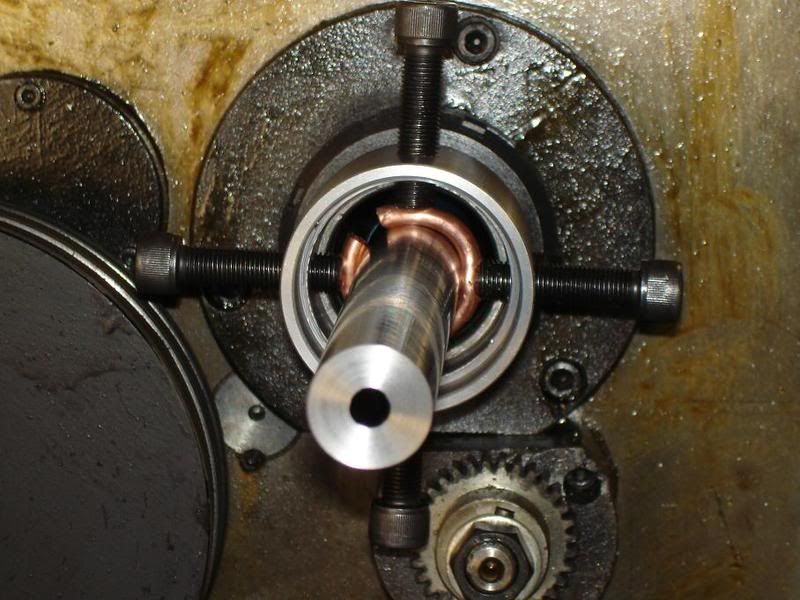
after the threads were cut i placed the recoil lug and receiver on the barrel checked where the high point in the muzzle was in relation to the top of the receiver. of course it was not facing up so i had to cut back the barrel shoulder and re-face the end of the barrel.
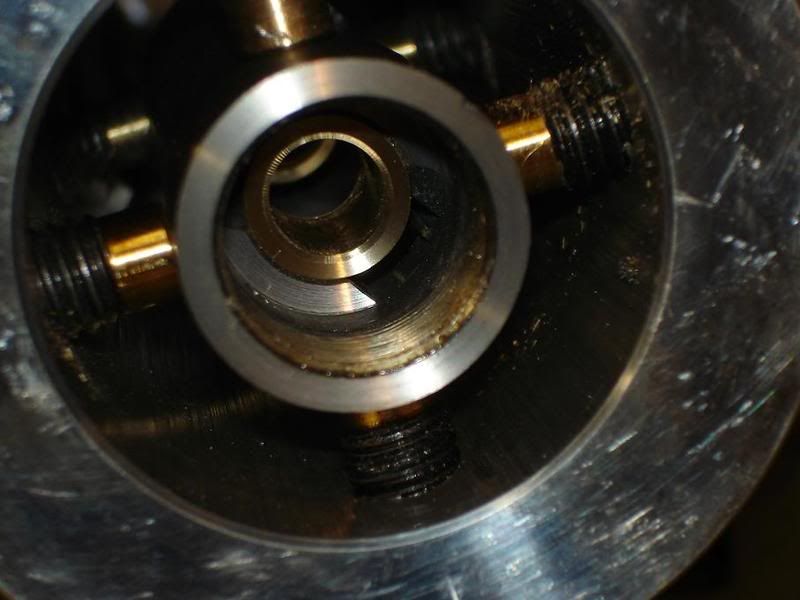
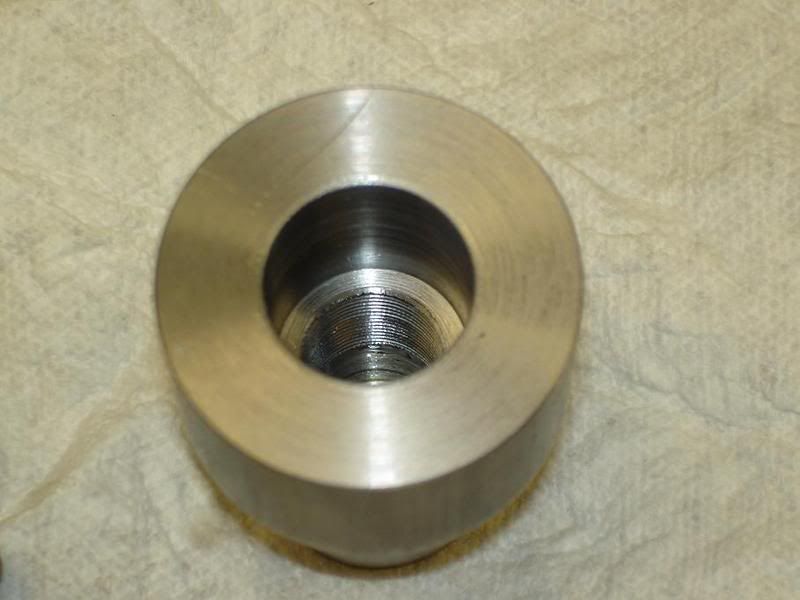
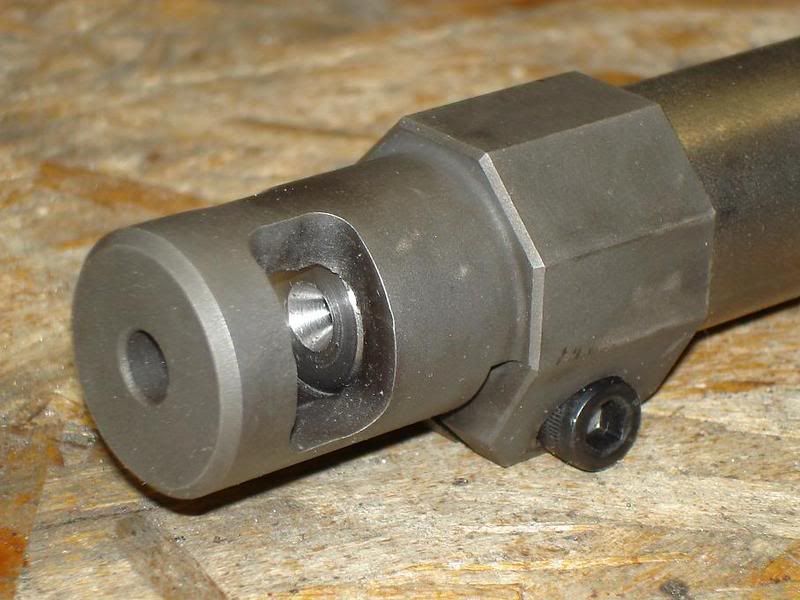
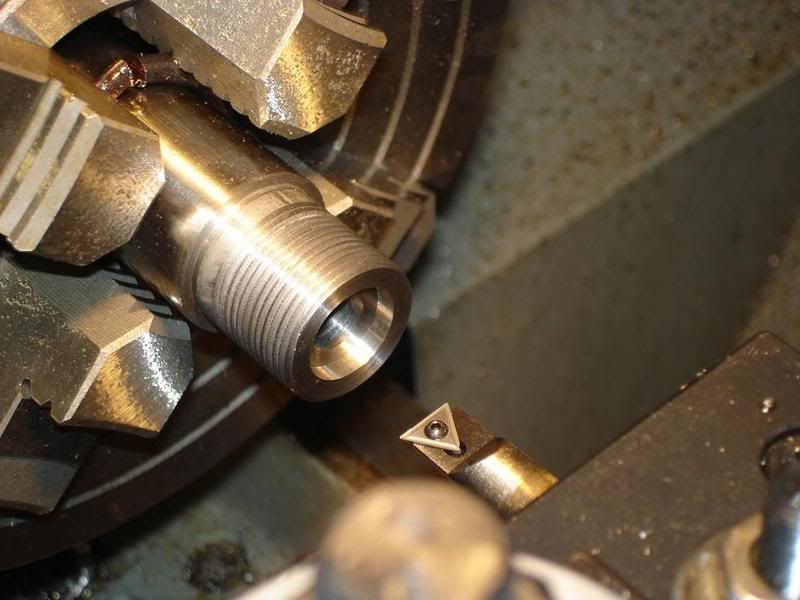
after i was satisfied with that i drilled out the majority of the chamber with a standard drill. then i opened up the bolt counter bore.
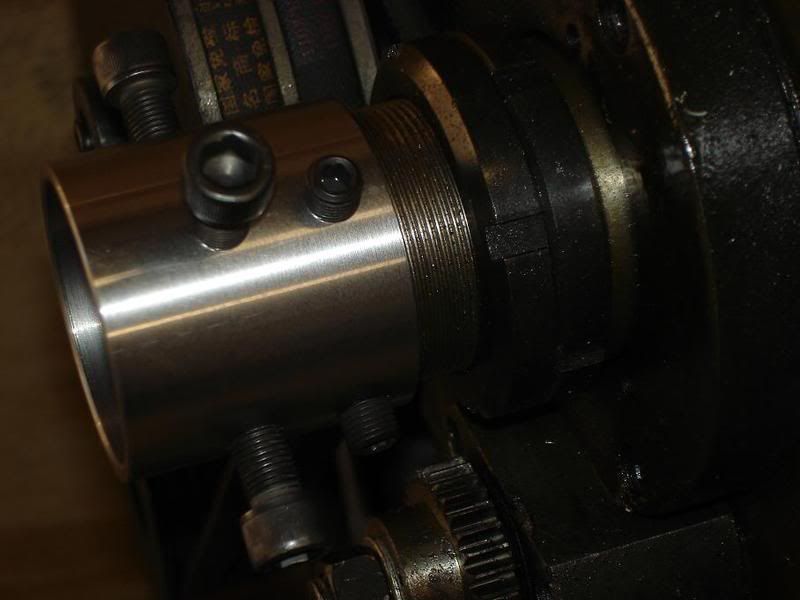
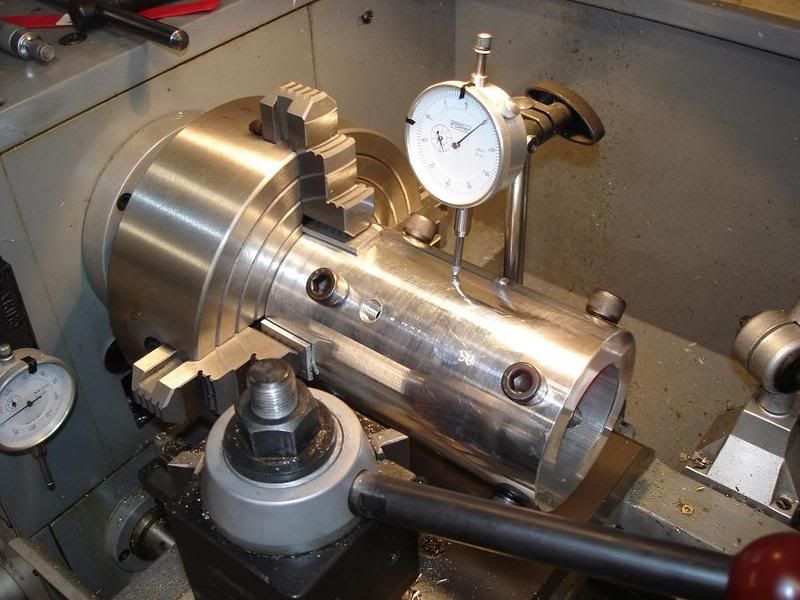
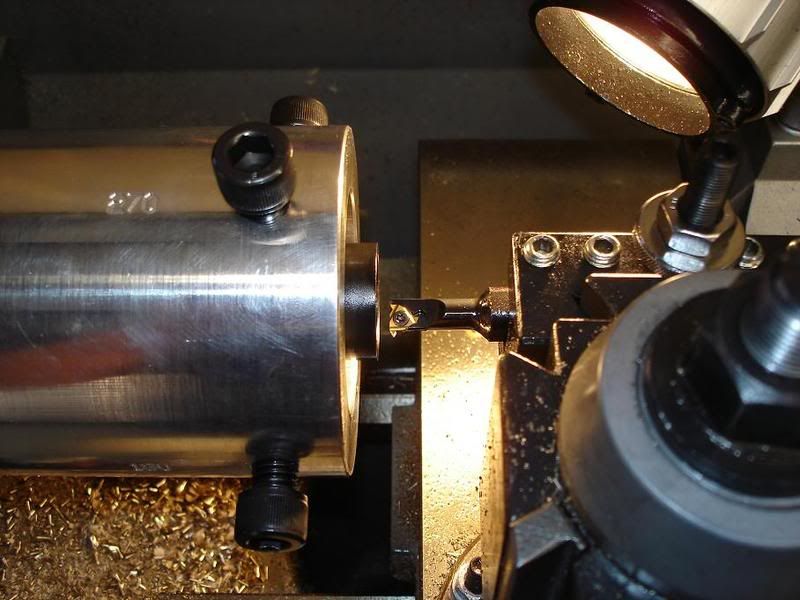
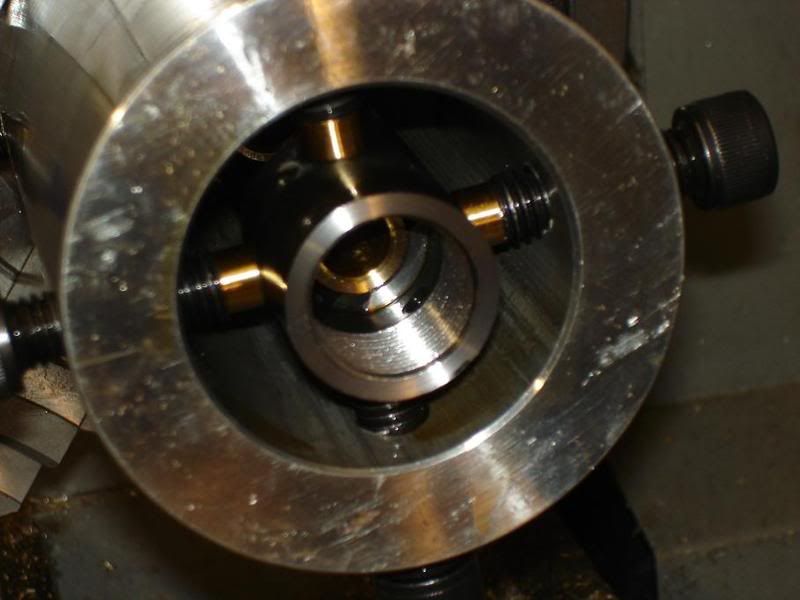
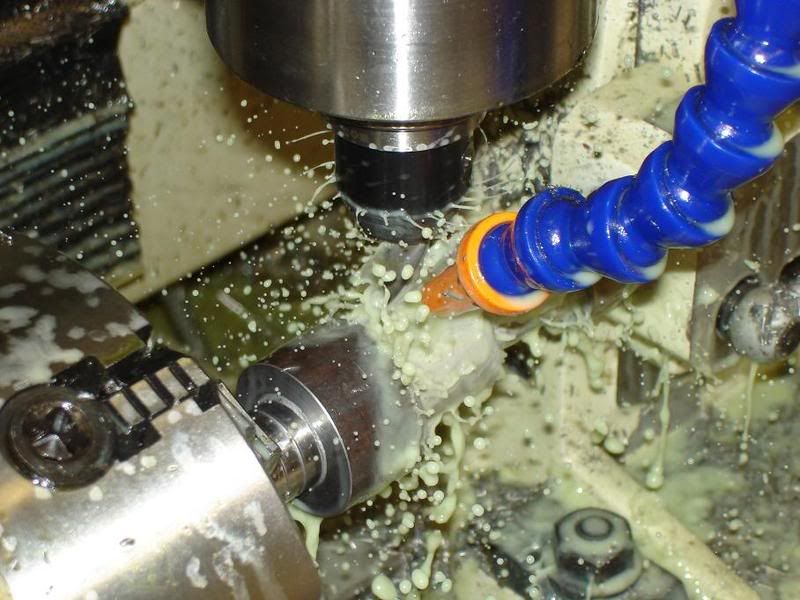
next i was on to the chamber. i didn't take any pictures during this process because i was kind of stressed and well, my hands were all oily. this is unfortunate since this was the biggest mystery to me about barreling a rifle. there is not a whole lot of pictures out there of this process. i really wish there were some step by step pictures about chambering a barrel out there. maybe when i more confident with this procedure i will have some one standing over my shoulder taking pictures. i am not confident enough yet though.
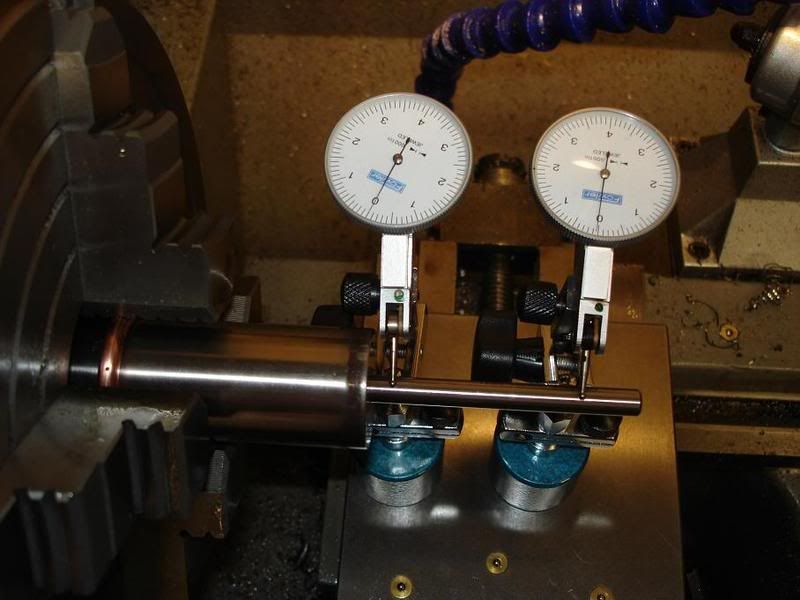
i used a "bald eagle" floating reamer holder to hold the ptg reamer. since this was my first time i went slow and checked often. my lathe set up must have been pretty good because i couldn't detect any runout of the reamer while the barrel was turning. after i got it to where i was happy with my headspace i polished the chamber with 400 grit then 600 grit sand paper and wd40. i also radiused and polished the end of the chamber and the edge of the counter bore. all in all, it was not that difficult but kind of stressful having never seen it done before.
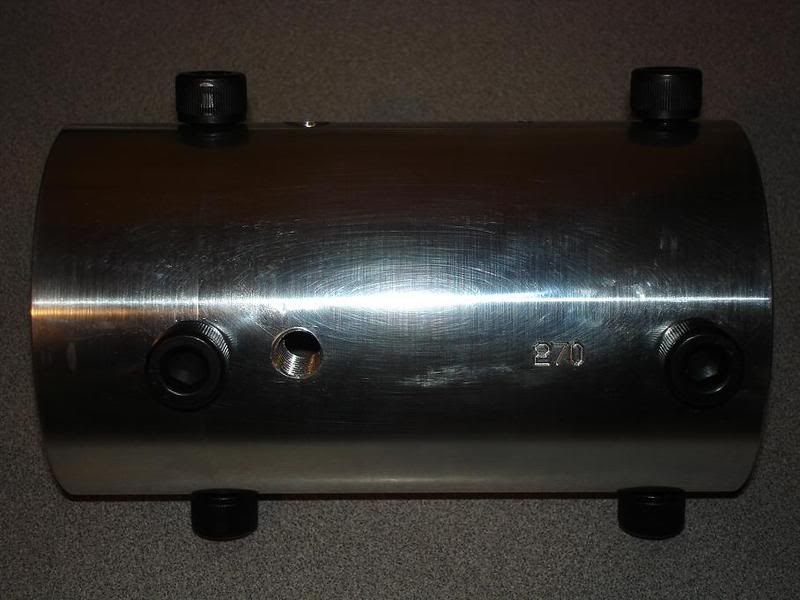
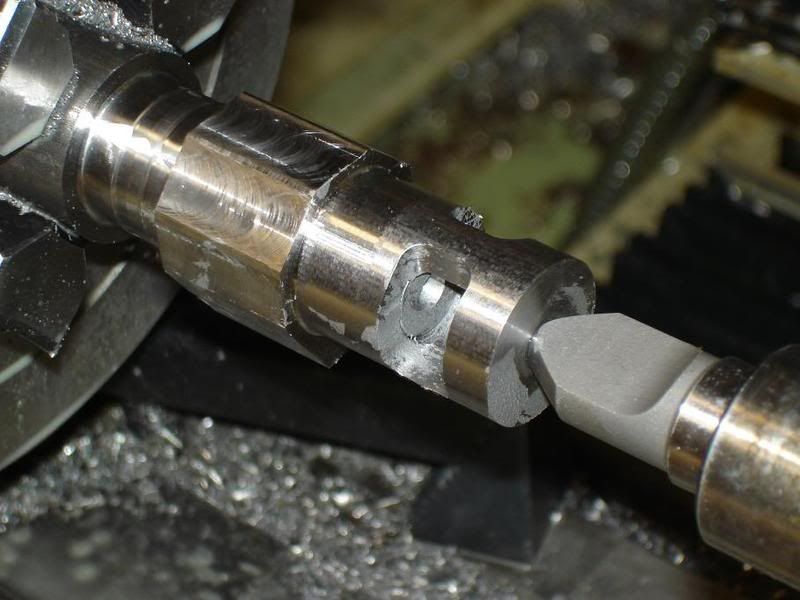
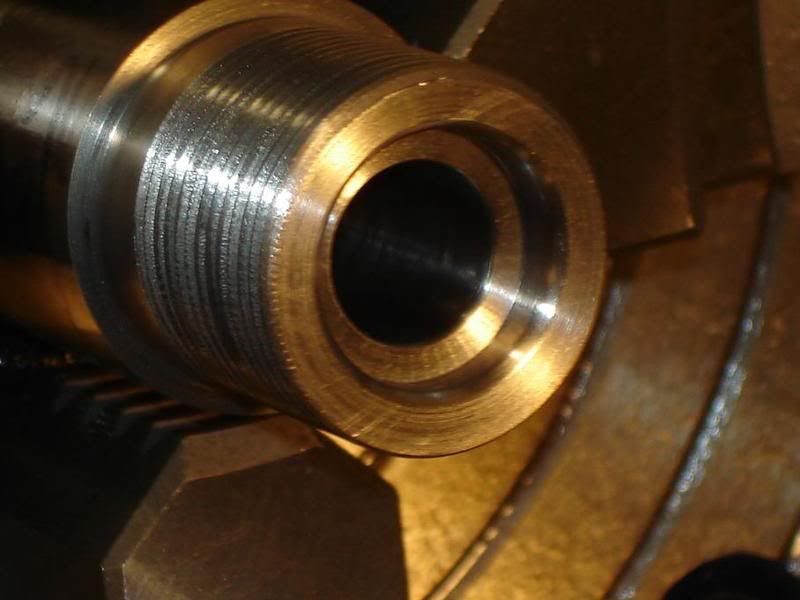
here is the finished chamber although there isn't much to see from the camera's view.
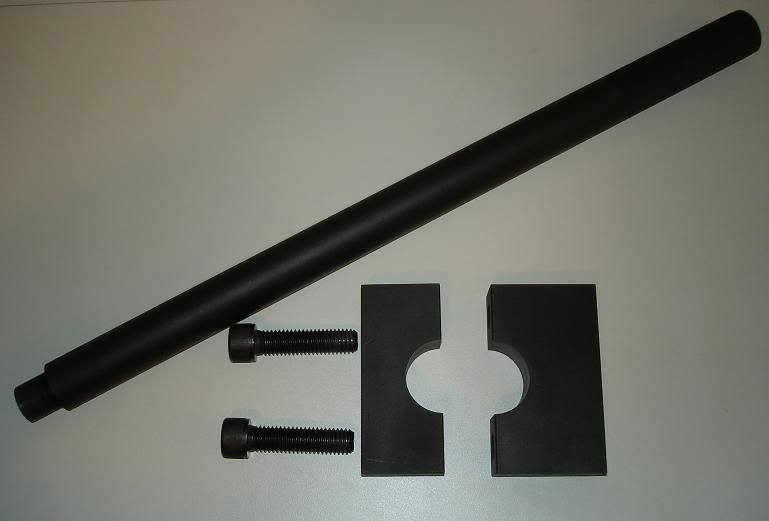
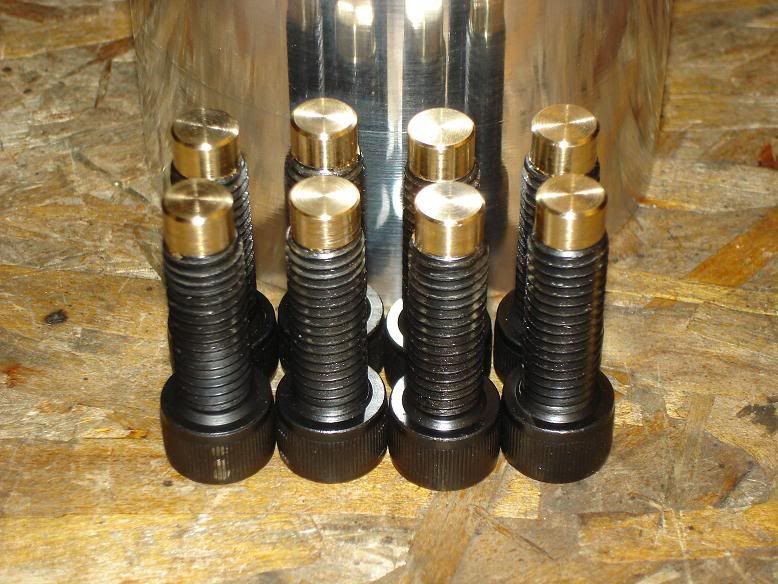
tomorrow i will do the muzzle end and hopefully have time to open up the recoil lug inlet in the ai stock for the badger lug.